The idea in this post is just how to upload a large file to Azure Blob Storage. So let’s directly start with how we can do it.
First, we need to create a storage account in azure https://portal.azure.com/. It is easy to find just type “storage account” into the search box then configure it according to your needs. You can follow up on this link https://docs.microsoft.com/en-us/azure/storage/common/storage-account-create?tabs=azure-portal.
To upload a large file to Azure we will use Block Blob. There are different types of blobs in Azure so why we will use and what are the differences between the other blob types you can read this link https://docs.microsoft.com/en-us/rest/api/storageservices/understanding-block-blobs–append-blobs–and-page-blobs. But the first two sentences are enough to understand;
Block blobs are optimized for uploading large amounts of data efficiently. Block blobs are composed of blocks, each of which is identified by a block ID.
So go on;
Now we can connect to Azure Blob Storage by using our new connection string. And here is all code and its repository => https://github.com/muratcanoguzhan/azure-large-file-size-test.
[HttpPost]
public async Task PostAsync()
{
    var fileName = "pikacu.jpg";
    var filePath = Path.Combine(_env.WebRootPath, fileName);

    var pokeContainerClient = GetContainer("pokemons");
    await pokeContainerClient.CreateIfNotExistsAsync();

    var blockBlobClient = pokeContainerClient.GetBlockBlobClient(fileName);

    var stagedBlocks = new HashSet<string>();
    using (Stream st = System.IO.File.OpenRead(filePath))
    {
        byte[] buffer = new byte[2048];
        while (st.Read(buffer, 0, buffer.Length) > 0)
        {
            string blockId = Guid.NewGuid().ToString("N");
            string base64BlockId = Convert.ToBase64String(Encoding.UTF8.GetBytes(blockId));

            var stagedBlock = await blockBlobClient.StageBlockAsync(base64BlockId, new MemoryStream(buffer, true));

            stagedBlocks.Add(base64BlockId);
        }
    }

    await blockBlobClient.CommitBlockListAsync(stagedBlocks);
}

private BlobContainerClient GetContainer(string containerName)
{
    var client = new BlobServiceClient("conStr");
    return client.GetBlobContainerClient(containerName);
}
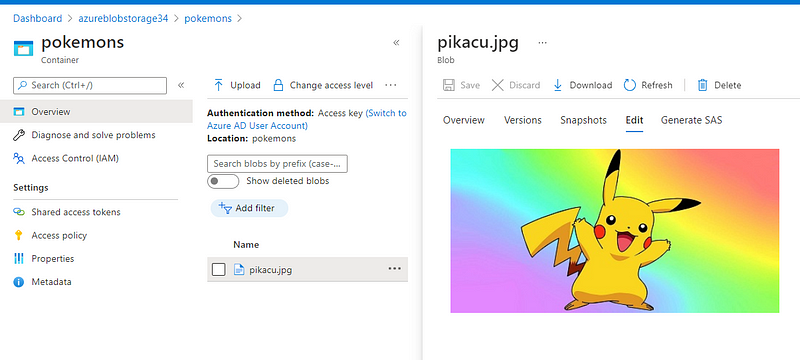
If you open the git repository there is an image in the wwwroot. To stream it we are getting its path first. Then we are getting the instance of our container if it is not in our containers on the Azure side it will be created by the CreateIfNoExist method. By the way, you can see all of your containers by clicking the container menu at the left menu. We are creating container by code you can also create one on the azure website manually even upload files into it.
After getting the container we need to decide where to place our file. We can upload the files wherever we want in container by giving paths like (FolderName1/FolderName2/fileName.jpg) right now just giving the filename is enough.
So we stream the file by buffering 2048 bytes you can change this because the aim is to upload large files. Here each buffer is equal to a stage. We keep stages in a list then we are committing them to azure. Then we can see the file in our azure portal in the pokemons container. It is not important how large your file is because with the help of block blob we divide it into the stage blocks and by keeping their base64BlockIds we are committing the block blob as you see in the code.
Here;
